
If you want to succeed with yard signs (or bandit signs), Google My Maps is a must-have tool.
For the reason that, without this tool … putting out yard signs will be much more difficult than it should be.
Because imagine if you can do this:
Create custom driving routes – Hop into your car, open up Google My Maps on your smartphone, and in seconds, get the step-by-step directions to each sign placement location – without spending an ounce of brainpower! Making it easier for you to finish putting out signs faster so you can get home to bed early before your spouse gets worried sick.
Discover new places to put your signs – Use this tool to find unexplored cities, suburbs, or towns to map out new locations for your yard signs or bandit signs that otherwise would’ve been impossible to find.
Prevent miscommunication with your team members – Share GMM with your yard sign placers so they can know where to place each sign without ever having to consult with you. Thus, saving time for you and your team members.
I recommend any business using yard signs to snag this tool.
Go here to get Google My Maps for free.
In this blog post,
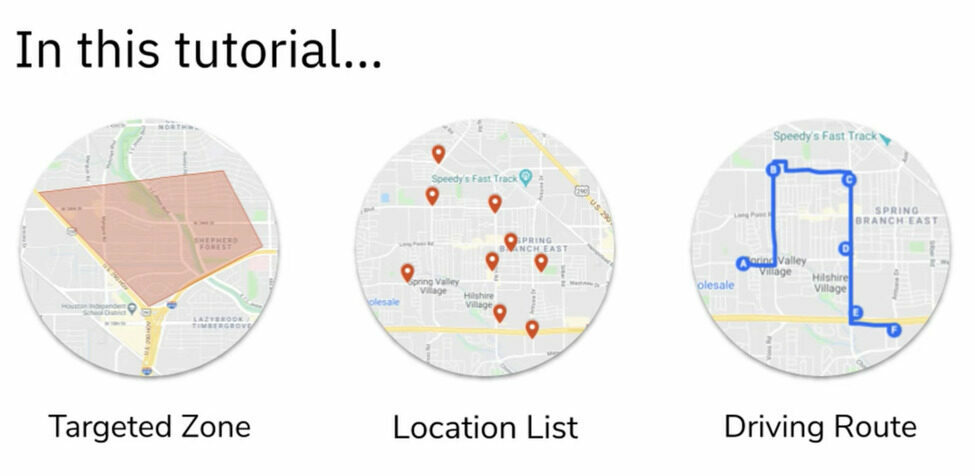
we’ll go over the three different ways to use google my maps:
- Targeted Zone
- Location List
- Driving Route

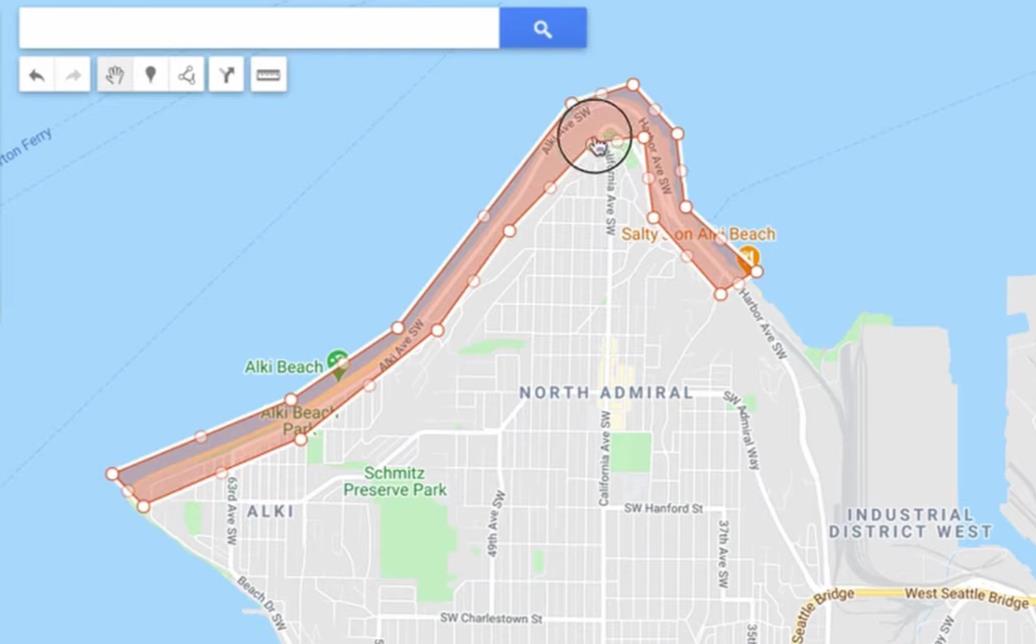
1. Create a targeted zone
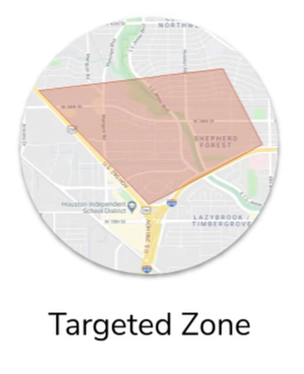 This isn’t exactly a driving route but it’s a great way to get started quickly.
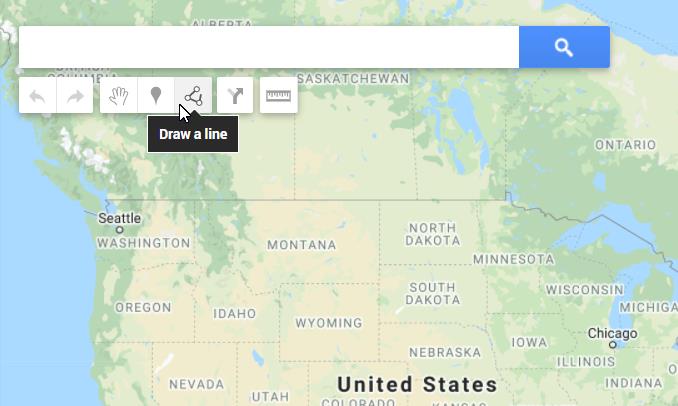
2. Create a Location List
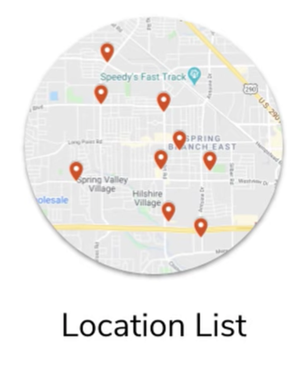 A location list is a great way to map out the strategic areas you are already familiar with.
Option 1: Manually add each location
Step 1a: Do an individual search
For example, if I type in the search box, “West Seattle Thriftway Supermarket”, then that exact supermarket will show up on the map.
Step 1b: Do a bulk search
Alternatively, you can do a bulk search to find a category of locations.
For example, if I type in, “Supermarkets in West Seattle”, then every supermarket in West Seattle will pop up on the map.
And when the pin shows up on the map, go to the next step.
Step 2: Go to the pins that you want to add and click on “+ add to map” and you should see that location show up in the layer that you created.
Step 3: Repeat steps 1-2 until you have every location you need.
There you go you’ve just added a whole list of locations very quickly.
Pro Tip: Create new layers to keep different categories organized. For example, you can have a layer for just “supermarkets” and another layer for “shopping centers”. It’s not necessary but it’s there if you need it.
Option 2: Import a spreadsheet of addresses
If you already have a list of addresses in a spreadsheet somewhere, then you can use this option.
Importing a spreadsheet makes it incredibly fast to map out all of your locations on google map.
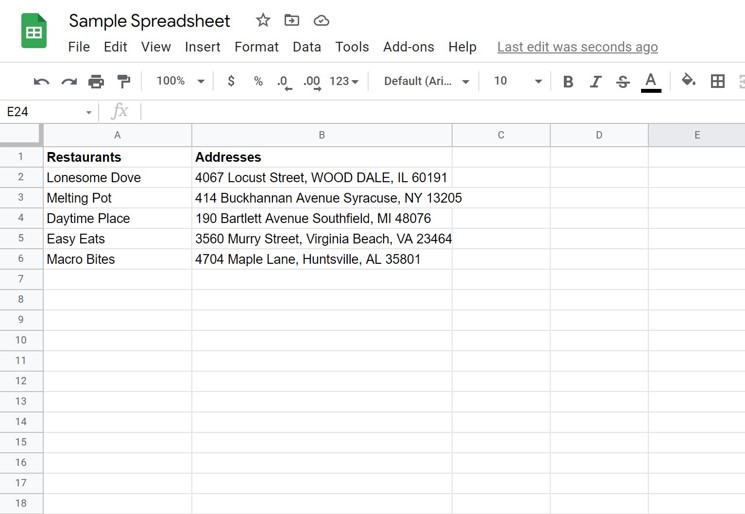
So for example this one that I have on google drive
It just has the column headers as restaurant and address and the name of the restaurant and the addresses that they’re at:
To upload a spreadsheet of locations into google my maps, then follow these steps.
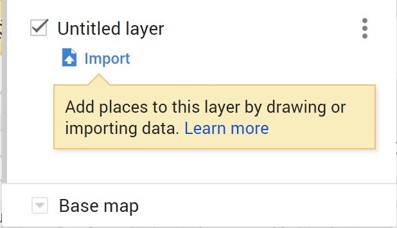
Step 1: Create a new layer
On the left-hand side of your screen, you’ll see a button called “add a layer”. Go ahead and click on it.
Otherwise, you won’t see an option to import the spreadsheet file.
Step 2: Click on “import”
After you click on the button, upload an excel file or CSV. If you’re on a desktop, you could just drag it or click the select a file from your device.
Step 3: Select the column to position your placemarks.
This basically means to click on the column that has the addresses of each location.
Step 4: Select a column to title your markers.
Pick a column to use as the title for the placemarks, such as the name of the location, and in the example case, the name can be the “restaurants” column.
Hit finish.
3. Create a Driving Route
 If you want to do that extra prep work and create a step-by-step route for when you’re actually in the field or your team member is in the field placing signs, follow the next steps to create a driving route.
Step 1: Click this add directions button that’ll create a new layer automatically.
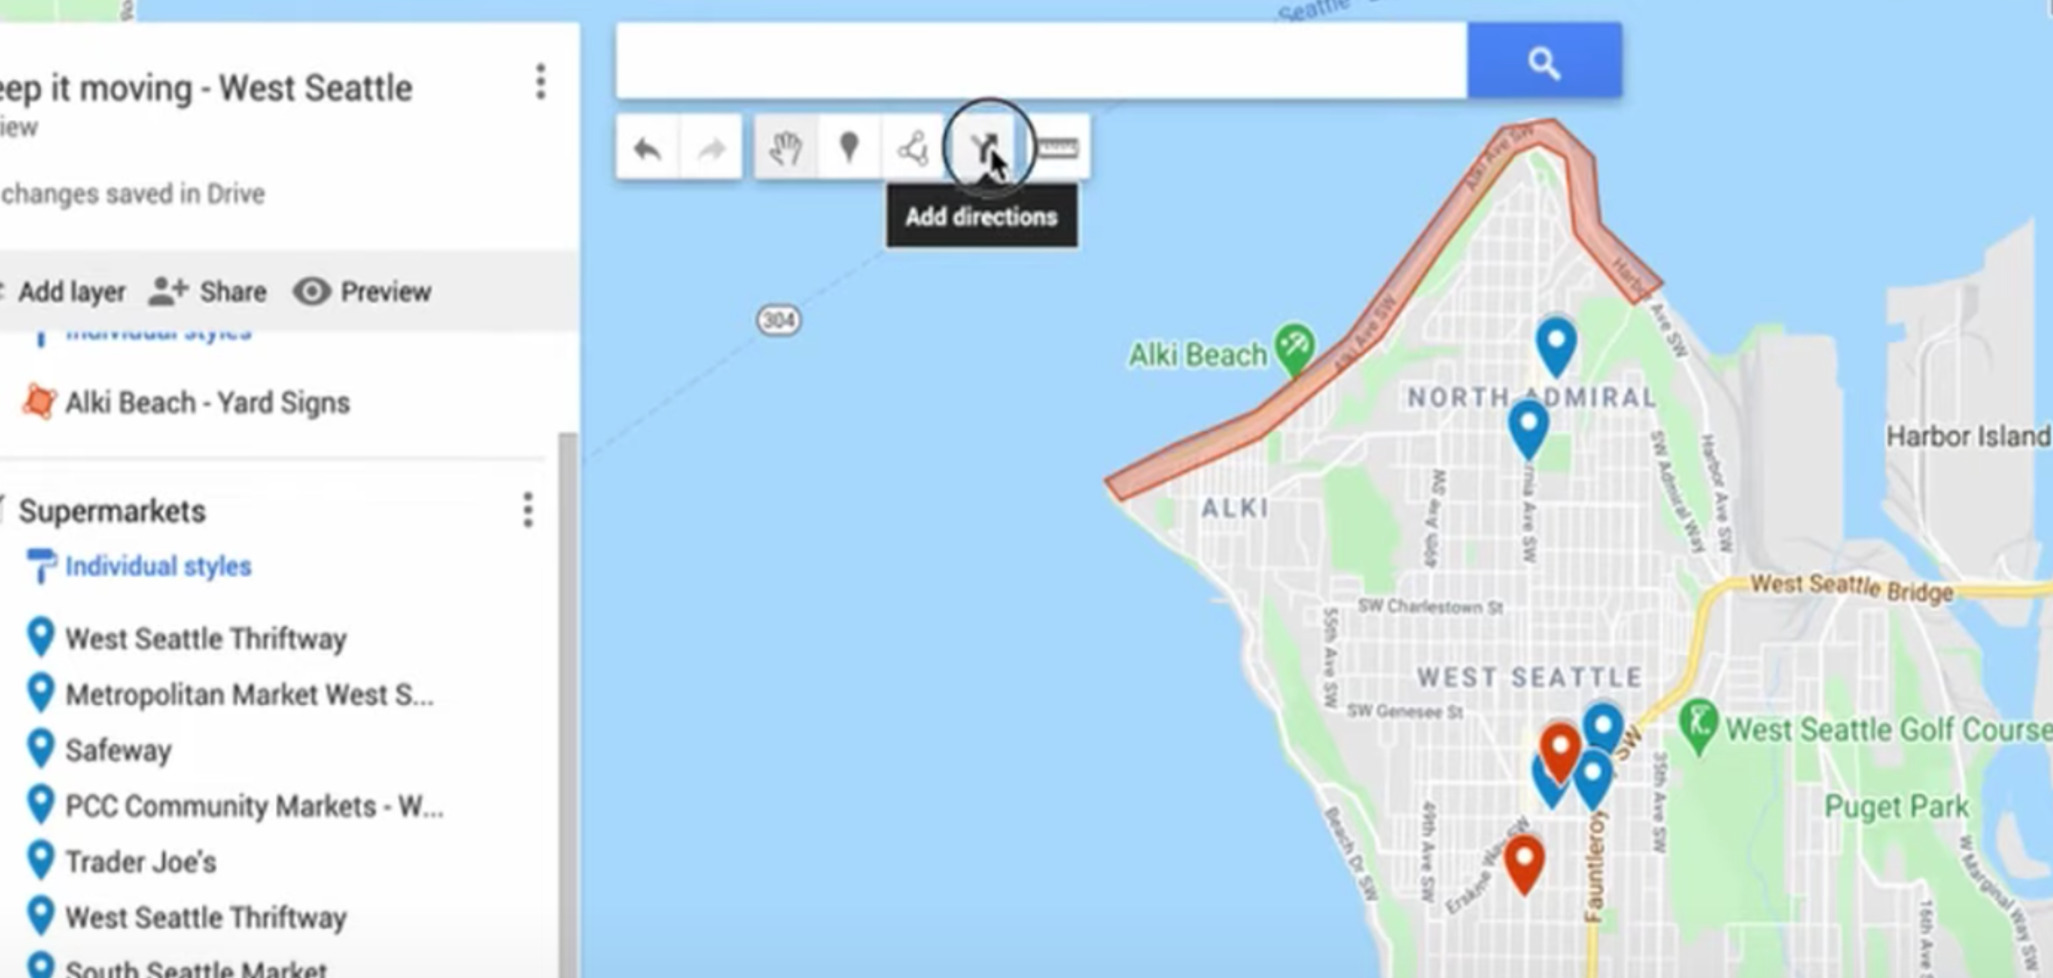
Give it a name.
Note: You can change the transportation mode to walking or biking by clicking on the “driving” icon.
Step 2: Click on the point A type box and do one of the following options.
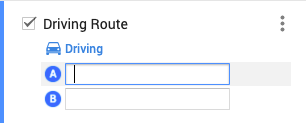
You have two options here.
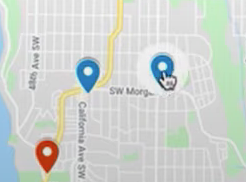
Either you can type in the name or address of the location, or you can click on a pin from the map like in the image below.
(If you don’t have any pins on the map yet … go to the “Create a Location List” section above for learning how to create one.)
Now, we’re going to keep adding destinations and you can play around and see what’s the most efficient way to drive there.
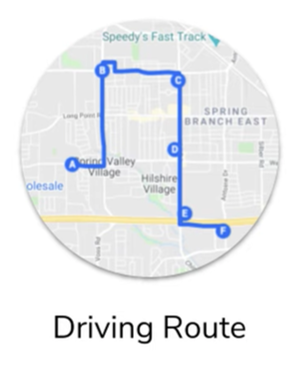
Step 3: Keep adding destinations until you have an entire route.
But there are some downsides. The biggest one is that google my maps only allows you to do a driving route of 10 stops per layer. The solution is you could create multiple layers and have multiple driving routes on a single map.
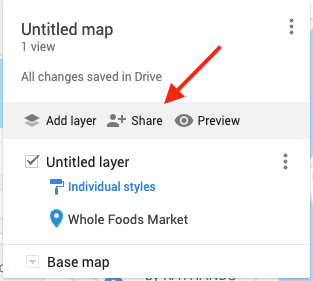
Finally, share the map to your sign placers
Now it’s time to take all of your hard work and hand it off to your sign installer so that they’re able to go out in the field and know where you want them to place their signs.
To share your map, click on the share button on the left panel:
Next, enable link sharing and then turn it on to public so everyone gets access to it that needs it:
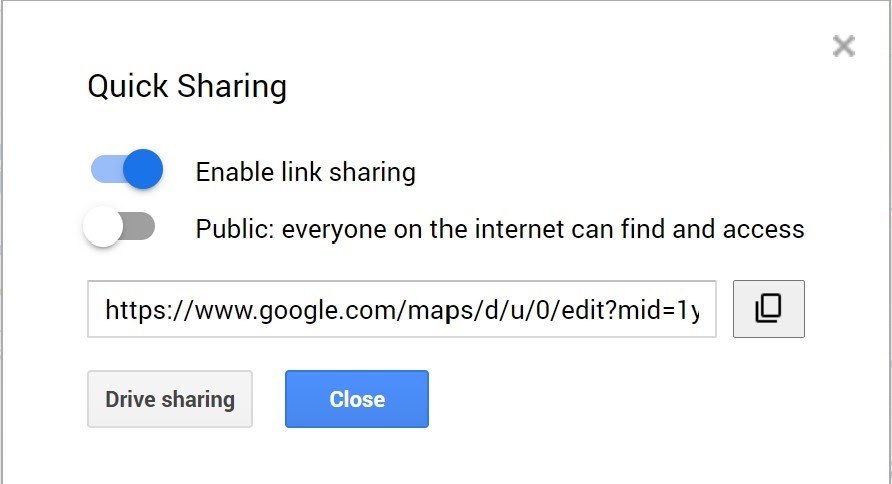
Copy that link to your clipboard and send this as a text message to your team members.
What’s next?
Send your team members
out into the streets to place your yard sign🙌
However, most business owners don’t always trust their sign placers.
What if … they don’t follow your instructions.
Or worse … they throw away your yard signs.
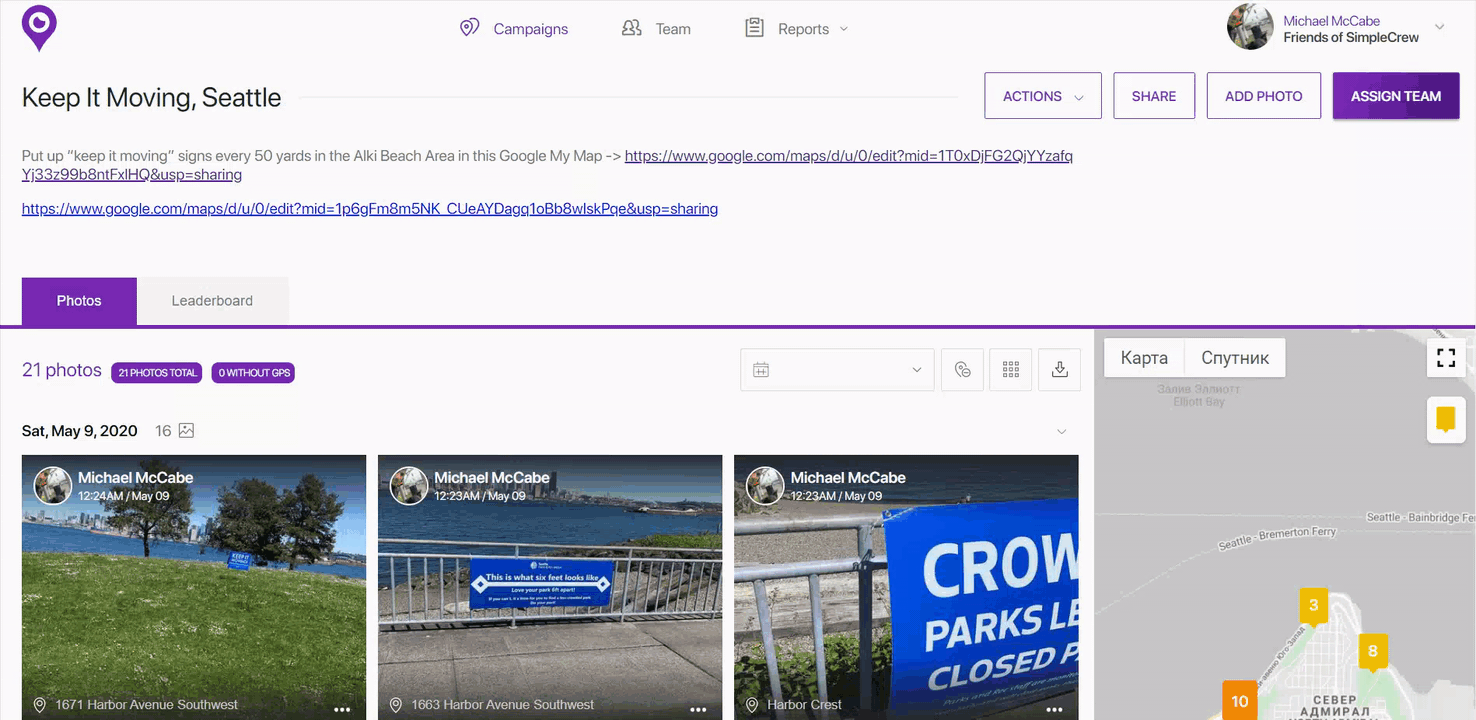
This is where SimpleCrew comes in.
SimpleCrew verifies that your sign placers are outside (going to places such as supermarkets, shopping centers, etc), following your instructions and perfectly placing your yard signs.
How does it work?
First, sign placers use SimpleCrew to snap photos of each sign they place.
Next, those photos are immediately populated on a map inside our software, letting you see all their work getting done in almost real time.

As a result, this makes it the easiest experience of managing a sign placer.
SimpleCrew pairs seamlessly with Google My Maps
Copy and paste your Google My Maps link within SimpleCrew so that your sign placer will never have to ask you where to find the link to the map. It’s always in one place.
And when your team members are inside the app they’re going to go into that campaign and they’ll be able to see the instructions by clicking the link to the map.
To keep your sign placers accountable, start your free trial with SimpleCrew.
If you learned something from this blog post make sure you leave a comment and if you try it out let us know in the comments below.
To learn more about SimpleCrew and how you can hold your team members accountable by tracking all of your signed placements in the field … check out the video and introduction to simple crew for sign marketing.